How To Draw A Swan
A s a regal animal, swans are difficult to draw for any artist. Luckily, we have created this very simple tutorial to help you gain some experience and draw a swan that is both beautiful and realistic. Get yourself some paper and a pencil or artist's tablet, put on some great music or your best series, and let's start some drawing swan art!
Table of Content
- 1 Swans: An Introduction
- 2 A Step-by-Step Tutorial on Swan Drawing
- 2.1 Drawing Supplies for Our Swan
- 2.2 Step 1: Body Construction
- 2.3 Step 2: Drawing the Wings
- 2.4 Step 3: Drawing the Neck
- 2.5 Step 4: Drawing the Head
- 2.6 Step 5: Drawing the Wing Feathers
- 2.7 Step 6: Starting the Beak
- 2.8 Step 7: Creating the Separate Face Parts
- 2.9 Step 8: Joining the Lower and Upper Parts of the Body
- 2.10 Step 9: Completing the Outline of Our Swan Drawing
- 2.11 Step 10: Details and Finer Lines
- 2.12 Step 11: Adding Texture
- 2.13 Step 12: Finalizing the Shading
- 3 Frequently Asked Questions
- 3.1 Is It Difficult to Draw a Swan?
- 3.2 Is This Swan Drawing Tutorial Okay for Beginners to Follow?
Swans: An Introduction
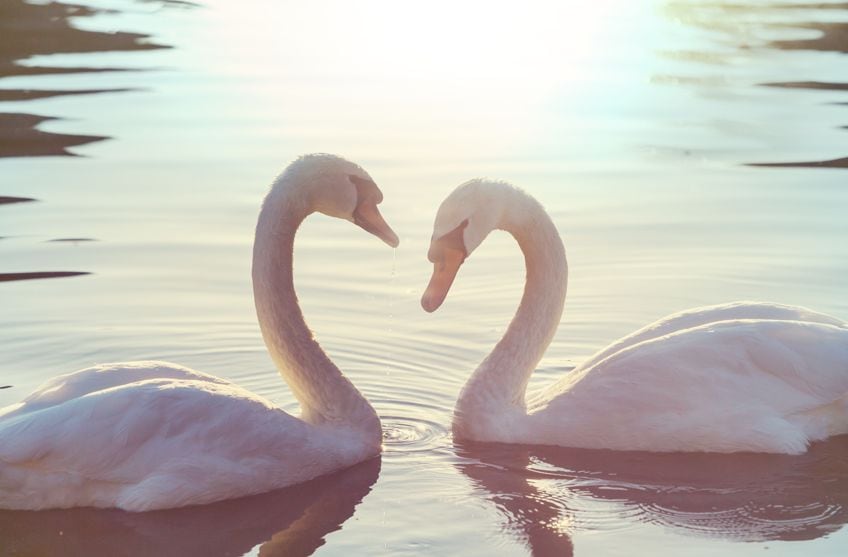
Intelligent and beautiful, swans have a memory that allows them to recall their communications with humans. There are six species of swan globally, and a fear of swans is called either cygnophobia or kiknophobia. Swans become sexually mature at around three years old, and when they find their partner, they usually mate for life. According to legend, the Queen of England owns all the swans in the land, so they are cherished!
A Step-by-Step Tutorial on Swan Drawing
After a bit of background on the royal swan, let's start our drawing tutorial. We will guide you through the whole process of how to draw a realistic swan, from constructing the lines to detailed shading. Let us check out what we will need in learning how to draw a swan.
Drawing Supplies for Our Swan
This tutorial can be used with almost any medium – you could follow along with pencil and paper or even use your fancy drawing tablet to create your swan drawing. Grab the following if you would like to draw the old-fashioned way:
- A piece of paper or a drawing pad
- A pencil set
- A rubber eraser
Step 1: Body Construction
Wherever shape and proportion are important, like when drawing an animal, it is always good to start with a few construction lines. These lines will help to create the basic form of the drawing before the details are added. The proportions are extremely important when you draw a swan, as it has a very recognizable and unique shape.
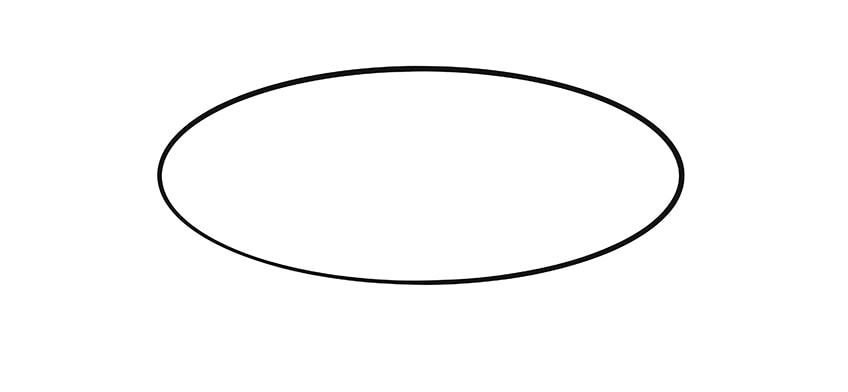
If we create the drawing without the construction lines, we may end up with strange proportions. The first shape to create is a large oval, the same as the one in the example above. The oval will become the body of our swan drawing, and we will complete it with all of the finer details later on.
Don't forget to leave plenty of space around the oval for the other sections you have yet to draw!.
Step 2: Drawing the Wings
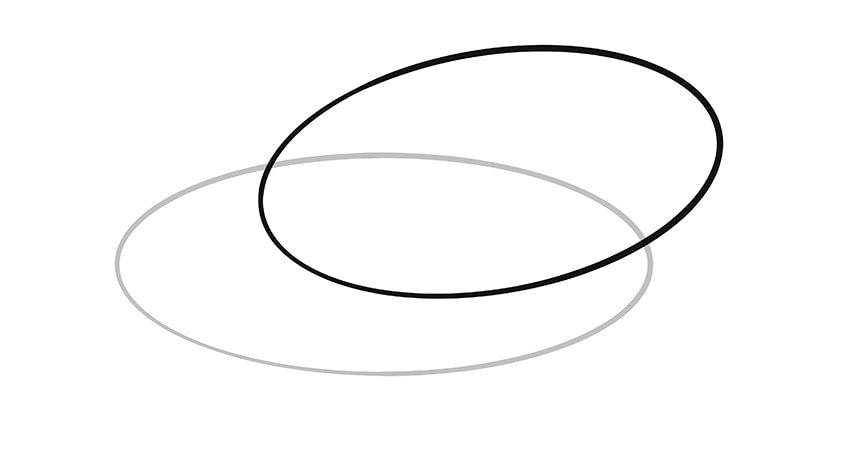
In this part, we will create the outline for the wings of our swan art. We will use another oval, placed at an angle to the first. The second oval should be slightly rounder than the first and the angle shouldn't be too steep. Check out this example:
Step 3: Drawing the Neck
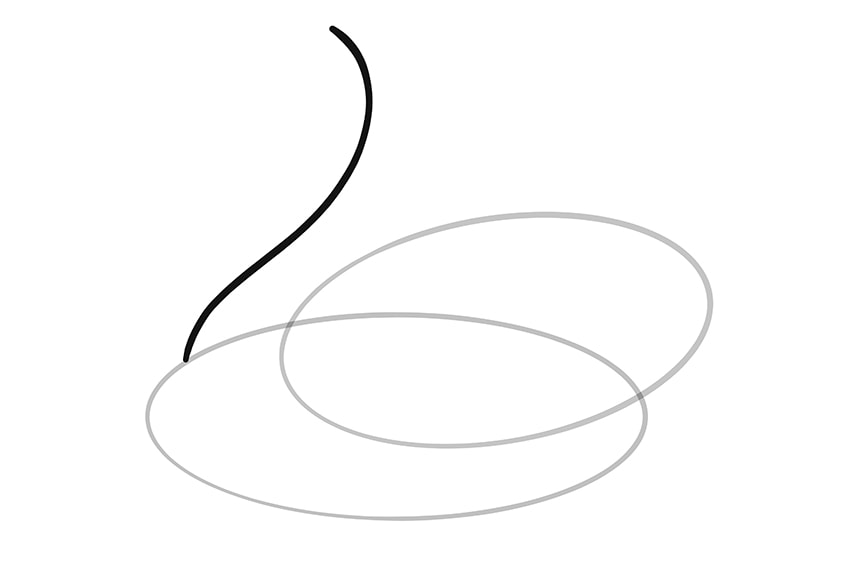
The next step is one of the easiest parts to recognize on a swan: its long, curved neck. Since these are just construction lines at the moment, a single curved line can be used to illustrate the shape of the neck. Start the curved line on the left side of the first oval, being sure not to begin at the end of the oval, as we are just sketching the structure of the neck – we will be adding details to both sides of it later. It should look a bit like you have stretched a number "2", as you can see in the example below.
Step 4: Drawing the Head
This is also a basic step and requires another oval. This oval should be a lot smaller than the other two and will sit directly on top of the neckline, above the curve. This new oval should be angled down a bit. Imagine that the beak on the side of the head is aimed towards the front of the first oval for the body.
Tip: This initial construction of the head can be drawn differently depending on the angle you would want the head to be at in your drawing. In this tutorial, our swan's head is in a resting position, a more natural look. However, as an artist learning how to draw a realistic swan, you can position it more or less any way you want.
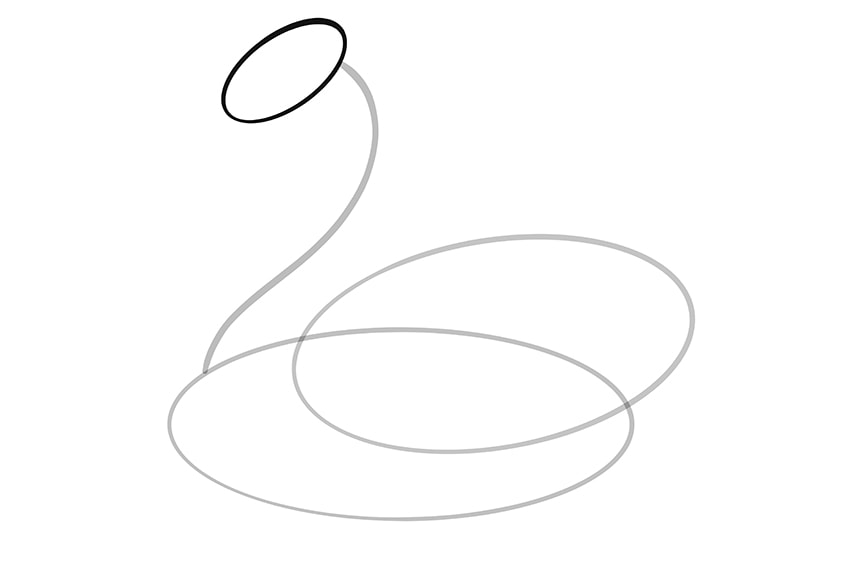
Step 5: Drawing the Wing Feathers
In this step, we start to move away from just the construction lines and will begin to bring in more of our freehand drawing techniques. Start by creating a curved feather line that extends from the top of the wing oval, which then drops down, flicks back up, and creates a point just before ending on the oval. You can then draw some feathers towards the back of the oval wing, thus slowly bringing your wing to life.
Tip: The feathers that are farthest to the back wil look the most pointed. These are called flight wings and help to aid the swan with airflow when flying. You will therefore need to draw these feathers to be pointy and sharp so that they look authentic.
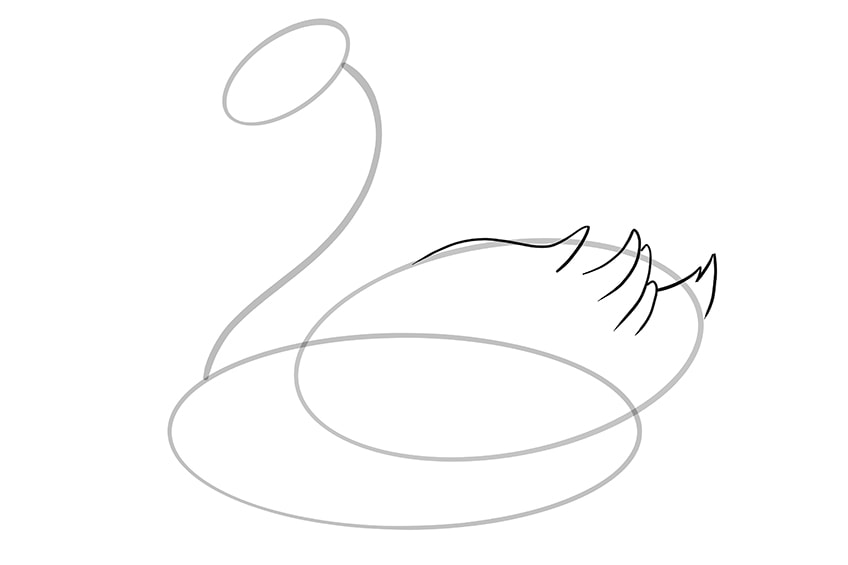
Step 6: Starting the Beak
This is a very simple and quick step in our swan drawing tutorial. All you need to do for this step is to draw a curved "V" shape from just below the center of the head's oval. Easy peasy!
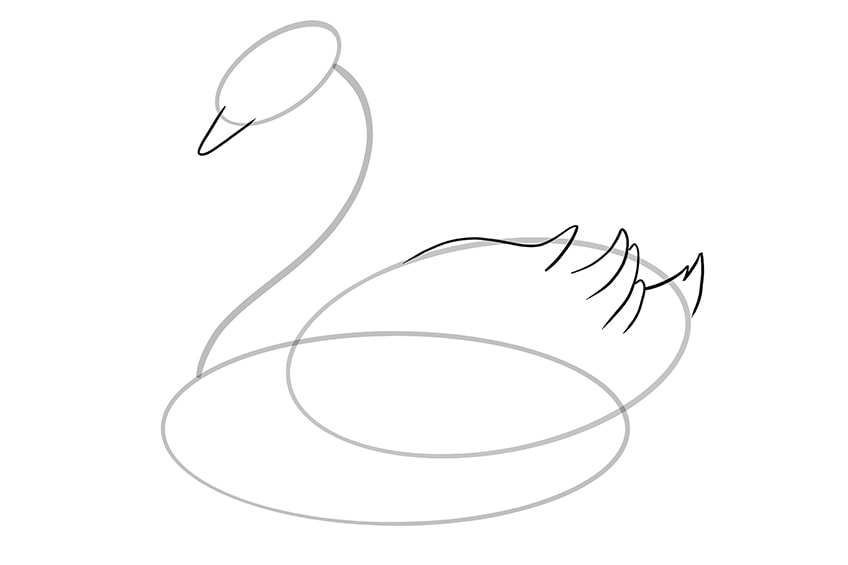
Step 7: Creating the Separate Face Parts
In step seven, we will create arch lines and curves to draw the face of our swan drawing. There are explicit patterns on the front of all swan's faces. Further down into the tutorial, we will add color to this pattern to differentiate the swan's head from its characteristic face. We can also draw a small, curved piece onto the beak to show the bulge that covers the beak of a swan.
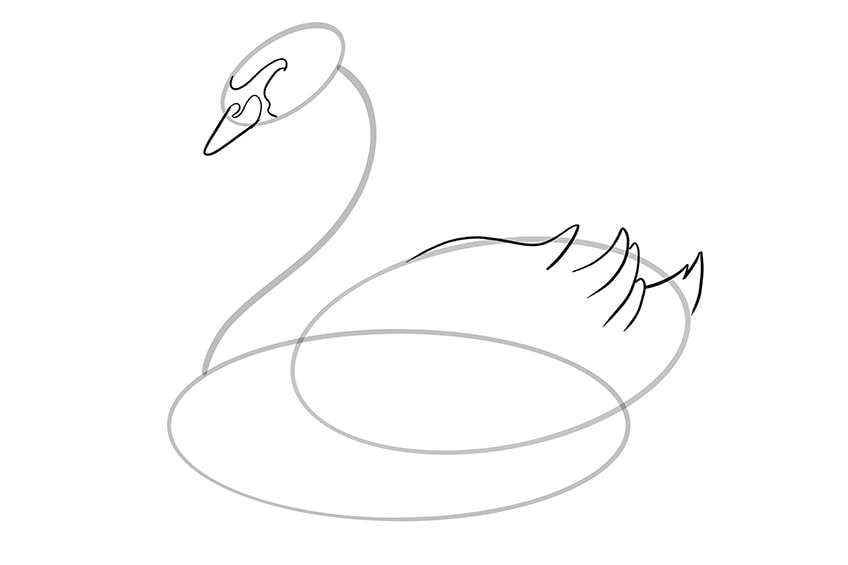
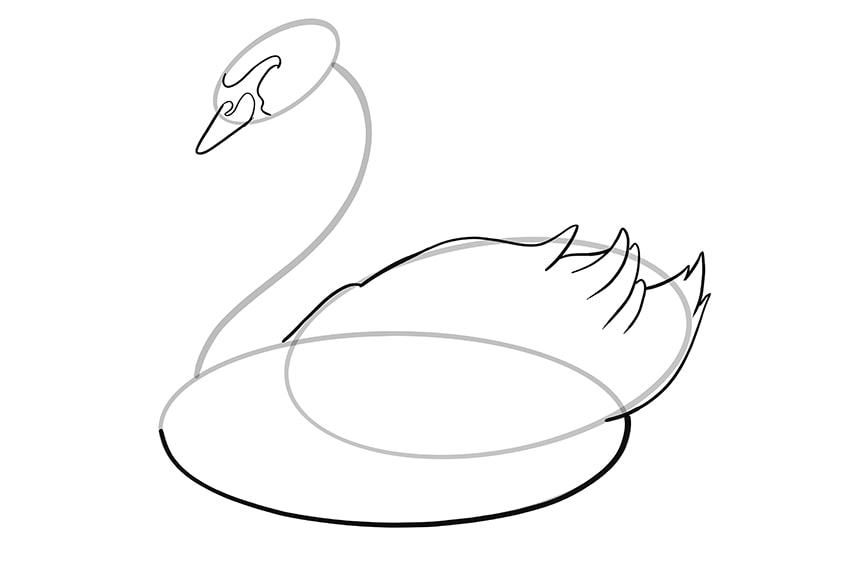
Step 8: Joining the Lower and Upper Parts of the Body
Now is the time to follow the construction lines so as to provide more shape to our swan drawing. Use a darker stroke to draw the bottom oval part of the body, and as the wing oval connects to that of the body, you should begin to join them to each other. Similar darker strokes can be used to create curved lines that join the feathers together. Then, draw a curved line that connects the top of the wing's oval down towards the top of the main part of the body's oval.
Your drawing should look something like this example, although it can of course differ slightly as each artist has their own specific style of drawing.
Step 9: Completing the Outline of Our Swan Drawing
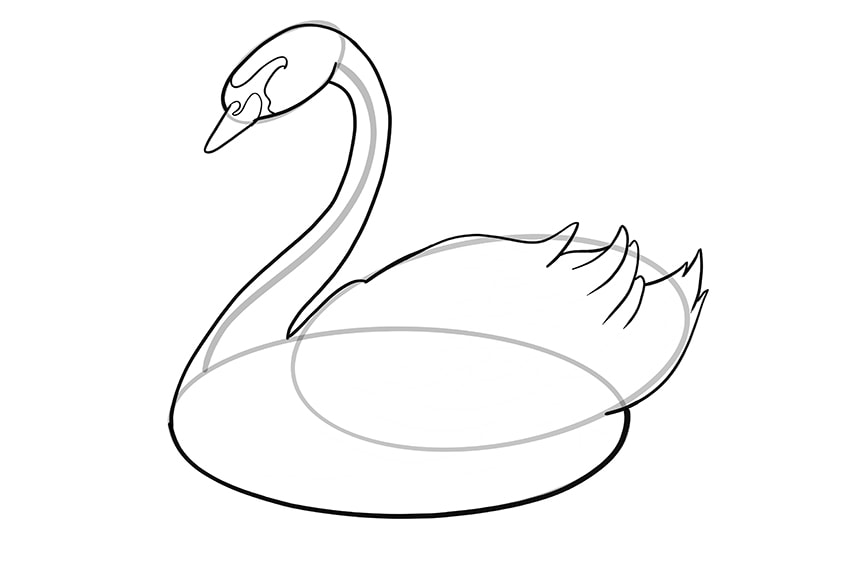
This is a relatively simple step in that you just need to follow the construction lines to finish outlining the rest of the swan's body. Perhaps start with the head, using a similar dark stroke as above, and draw a line from the oval at the head down to the body on each side of the neck, following the construction line. Complete the outline and voilá, our swan art is taking shape! You can also erase any of the construction lines that can still be seen.
Step 10: Details and Finer Lines
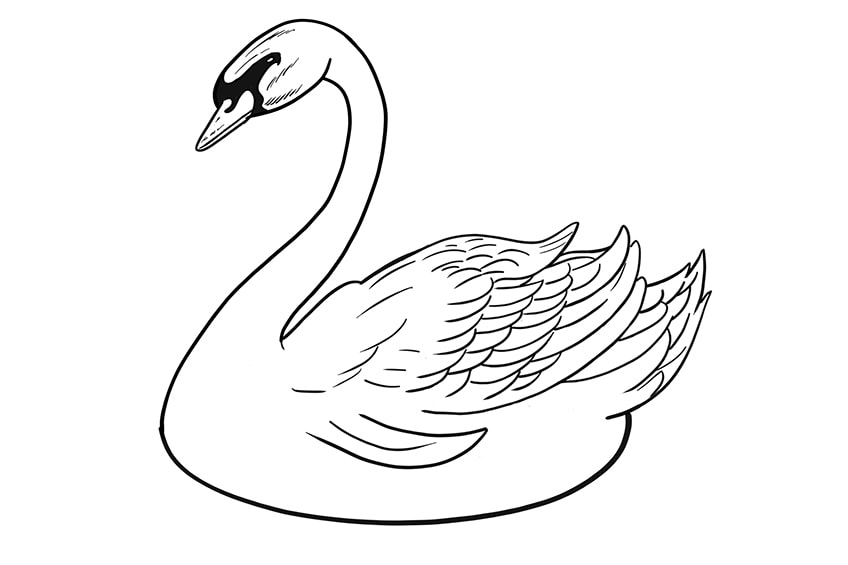
Your personal preferences will now start to show as you add more detail. Starting on the beak, create a "lower lip" by drawing a line across from one side of the beak to the other. You can also draw some streaks to add texture as well as a small nostril on the top of the beak.
Shade in the pattern you drew on the face with black, but leave a white oval in it to represent the eye. You can also add some textured strokes on the white part of the head in order to contour the face. Then, starting on the wing, follow the three main curves from the previous step to create the full curve of the wing, using curved lines.
Tip: Remember when drawing the feathers that they are not parallel.
Start with the biggest feathers and draw a line, and then create a second line of smaller feathers that are tilted in an upward slant. When on a wing, all of the feathers should face in a similar direction to look authentic.
You can use a wide curve to create the bigger wing parts, and then add smaller feathers inside the curve. Short overlapping and curved lines can be used to create this effect. It is also essential to create some stroked lines between feathers to make the wings look more puffed up and realistic.
Step 11: Adding Texture
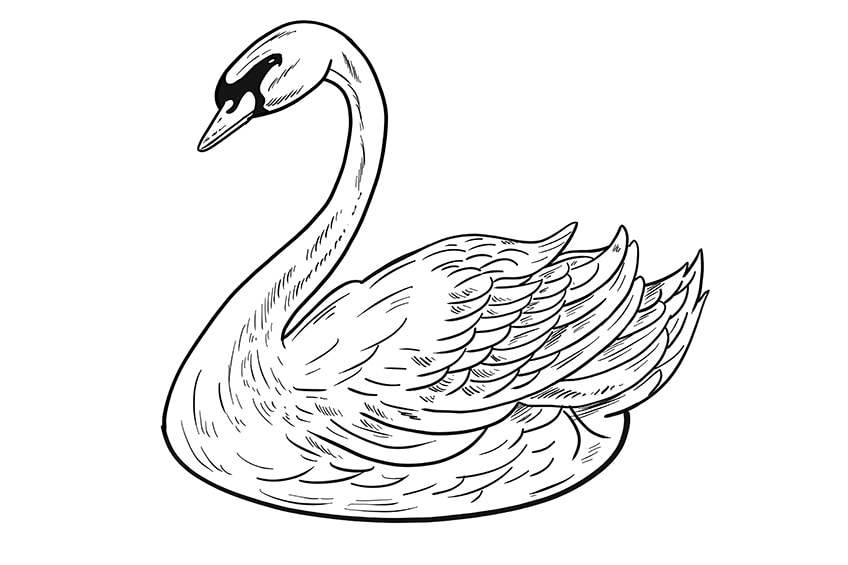
If you want to know how to draw a realistic swan, you will need to add plenty of texture. This is not a difficult job and you can add more or less according to what you feel is necessary. We suggest creating texture by adding small strokes, which can be drawn along the neck, following the curve. These strokes and streaks should also be drawn on the feathers to create a lovely blended look, and make sure that they all face in the same direction.
For additional feather details, create a few curved lines on the lower half of the body of the swan, curving upwards.
Step 12: Finalizing the Shading
Add some light shading with grey or black on the neck, face, beak, and lower part of the body. The shading can be smeared with a cotton tip or soft brush over the feathers to increase the perception of depth and dimension.
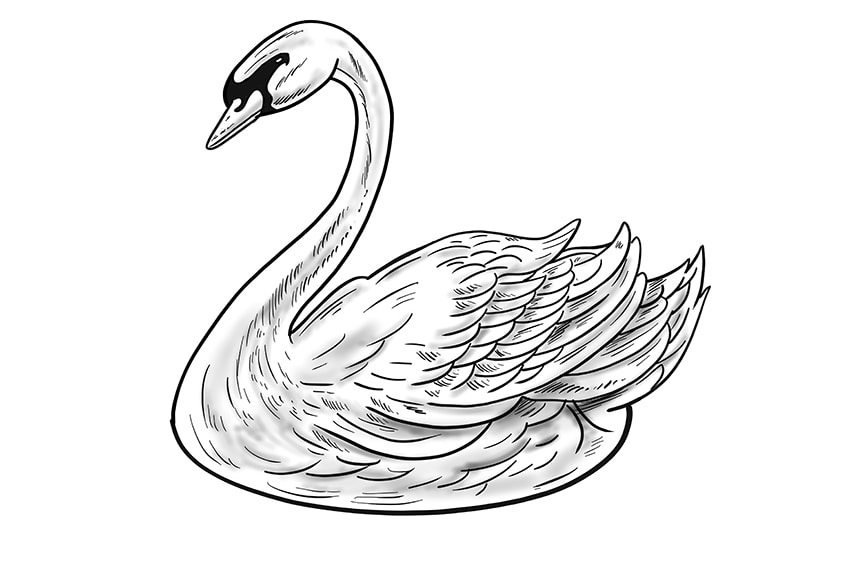
Tip: Shade each feather individually instead of many feathers at a time, as each feather should have a unique look to help it stand out.
Check to make sure that the lower feathers seem further back by adding darker shading to those bits. When you are done with this step, the swan is completed and looks great! We have also added some curved lines around the swan to create the feeling that the swan is on water.
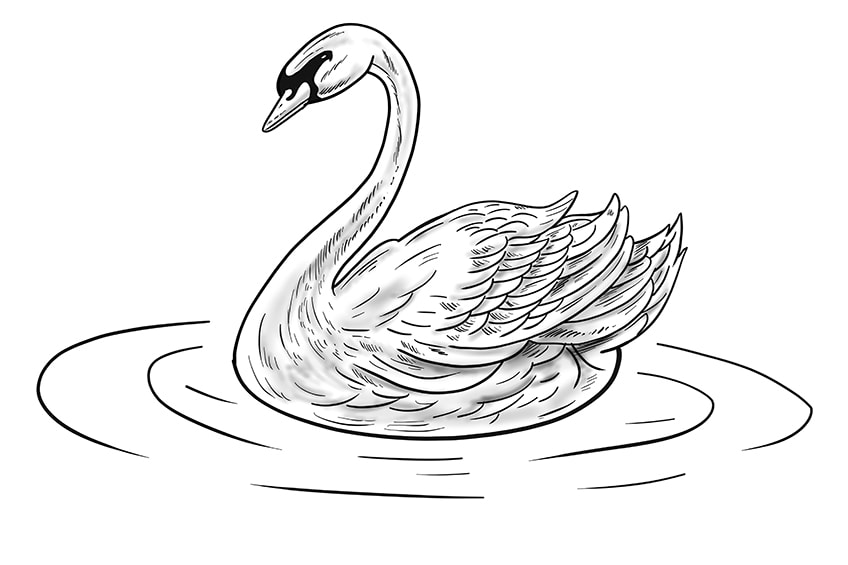
This has been our tutorial on how to draw a realistic swan – we hope that you have learned a lot and are satisfied with your finished drawing! After following all of these steps, you will be able to change the position of the swan simply by moving the construction lines.
Frequently Asked Questions
Is It Difficult to Draw a Swan?
Although some people think that swans are difficult to draw, they are actually very simple and straightforward. Once the construction lines are drawn, you just have to draw in the details and add texture.
Is This Swan Drawing Tutorial Okay for Beginners to Follow?
Yes! The steps in this tutorial were created for both professionals and beginners. All of the elements are covered from the very basics of adding construction lines to the detailed shading, so anyone will be able to draw the swan easily.
How To Draw A Swan
Source: https://artincontext.org/how-to-draw-a-swan/
Posted by: welchnotheeptist.blogspot.com

0 Response to "How To Draw A Swan"
Post a Comment